

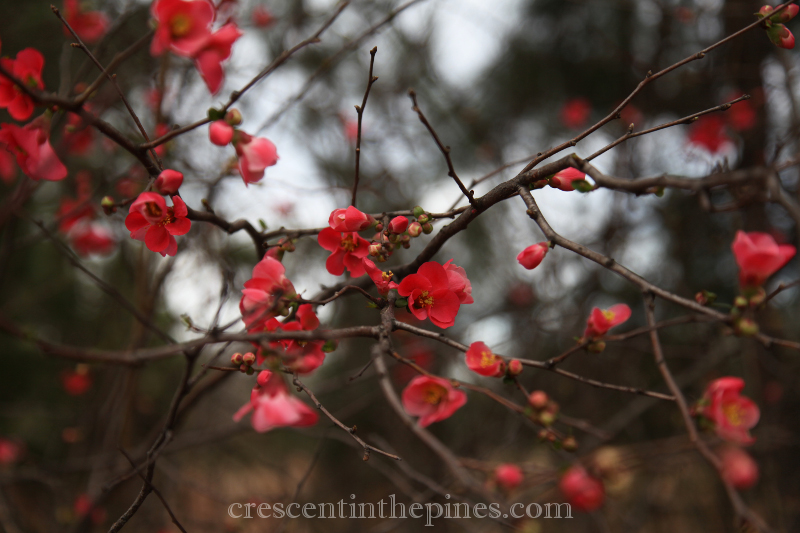
Outside the garden has been expanded by about twenty feet in two directions and the fence reset, the ground has been tilled, and the overgrowth project continues in the woods, clearing, cutting, and stacking. Spring bulbs and early blooming shrubs are beginning their show and the early cool season’s veggies are hardening off while inside the early and mid-summer season vegetables are sprouting in rapid succession. All the prep for the growing season is moving rapidly toward fruition.

Inspired by all this new growth of early spring and the sight of tables full of seeds starting, a quick guide to seed starting rooted in experience seems in order. Starting your veggies indoors gives you not only the advantage of a stronger harvest by besting your local climate but also of not spending a ridiculous amount of money on transplants and giving you a seemingly endless variety from which to choose. Besides, the satisfaction of nurturing your plants from start to finish cannot be understated. But if you’ve ever failed with seeds you know exactly how frustrating the process can be at times, especially on your first try. While you will almost inevitably fail at some point with seeds no matter how experienced you become, here are five key pieces of advice from my experience starting seeds indoors:
Too much, too soon. It’s no secret I am a seed collector from way back and keep a staggering inventory of seed types. However, I also have a sizeable garden plot and I tend to gift plants during the spring. But for the first year (or year two do-over) space, experience, and time should be your very key words. No matter how ambitious you feel or how tempting all those pictures in the shiny seed catalogue are, I strongly suggest starting with at most 5-10 varieties based on time and space. Once you know what your schedule and planting area allow, decide what you want whether that is a basic selection or one geared more toward your personal cooking taste. Also consider your climate when choosing seed types. And most importantly the first year, you have no idea how time consuming nurturing young plants can be until you try it. Starting with a handful of plants allows you to gain that knowledge and in the future calculate how much more your schedule allows, rather than starting with an overabundance, burning out, killing if ever germinating dozens of seedlings, and throwing your hands up in failure. After the first year or two, when you’ve harnessed the basics of growth and tending and have a better idea what you do and don’t like gardening wise, start expanding.
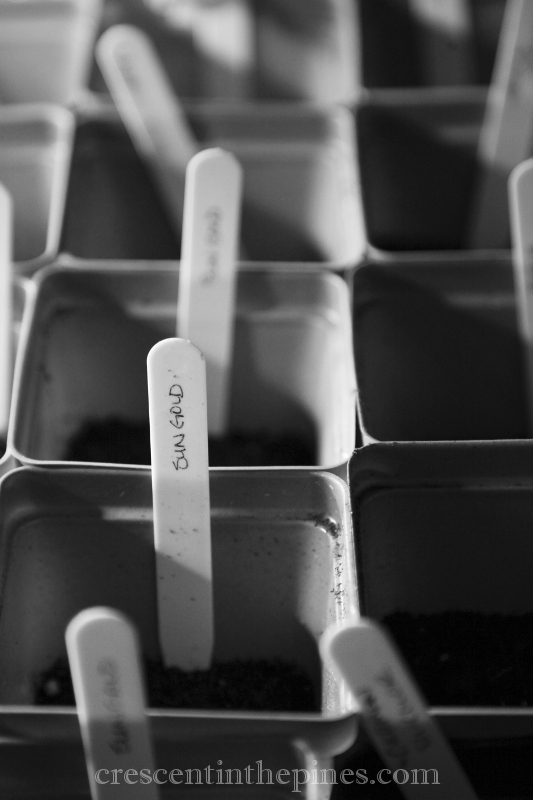
It seems like a silly mistake, but be sure to individually label each of your seeds. Forgetting to or postponing labeling will inevitably lead to confusion.
Stress. Stress is a killer and plants are not exempted from that rule. Improper amounts of water, light, and warmth (see below) can create stress but two other common forms of stress are fertilizer burn and transplant shock. Seedlings will need fertilizing at least once before transplanting (3-4 weeks from after sprouting, typically) but even the most mature plant can fall victim to fertilizer burn, so fertilizer must be heavily diluted and applied carefully. A spray mister and water tray will be your best friends for both fertilizer application and watering your seedlings (details in the water section).
With regard to transplanting, I strongly suggest planting them in a single container until outdoor transplanting or trying homemade seed pods as described here which simplify the potting up process. Even then, reduce the process of potting up to only one step per day for the baby plant so that it need only recover from one stressor at a time. (Potting up is the process of taking your seedling from seed starting pods upward in pot size to account for its growth until it is time to plant outdoors. An excellent how to guide can be found here.) And when it comes time to transplant your pampered plant into the garden, you’re in for disaster if you skip hardening them off. It can be time consuming if you overdo from the outset with too many plants, but if you start low volume with just a few plants, it’s fairly simple. About a week or two before planting them out, when the days become warm enough, begin taking your baby plant outside. The first day only set them out for a few hours splitting the time between shade and sun, the second day set them out a couple of hours longer, still longer the next, and so on until it’s time to transplant. This allows them to acclimate from the cozy indoors to the more harsh environment outside preventing issues such as windburn, freeze, and sunburn. And also, when you do transplant, do not do so at the peak of day in the bright sunshine. Either choose an overcast day or plant when the sun is low and try not to disturb the rootball during the transplant.
Light & Warmth. Don’t give into the temptation to use even the brightest window in your house as your light source. It not only likely won’t be enough light no matter how much sun it lets in, but the cold from outside will get through. Grow lights are available online or shop lamps are a handy option. They provide both light and heat and can be hung in such a way that they are easily adjusted upward as your young plant grows. From the very beginning, your light source should be directly above and two to three inches from your seedlings at all times. This provides for the straightest, strongest growth. By leaving the lights on 12-14 hours a day, you are both imitating summer sunshine and creating a significant difference in temperature even indoors when the lights are on and off (10-15 degrees typically) which helps prepare your seedling for the outdoors environment.
* Some less common species do not appreciate any swings in temperature as seedlings, an issue you should be aware of as you start expanding your seed selection. A few minutes of research will let you know if your new seed type falls into the latter category.
The soil. Always, always use new soil with seeds. They are extra sensitive to bacteria so sterile soil is a must. You can make your own seed starting soil or purchase it from your local nursery, but it cannot be understated that it must be sterile. (Also be sure to sterilize the containers you plan to use with diluted vinegar if you aren’t using a biodegradable type.) If you’d done everything else correctly in the past but used old soil and had plants die on you or never germinate at all, that may likely have been the cause.
But by far the most common mistake with soil and planting seeds (both indoors and out) isn’t the soil itself, rather it is the planting depth. Simply put, plant a seed too deep and it will never emerge. Read the instructions for your particular seed and follow them to the letter. For example, even if you just planted one tomato type only seconds ago and are about to plant another, don’t assume they are the same. A cherry type tomato typical plants at a shallower depth than say a beefsteak. It may only be a ¼”, but a ¼” makes all the difference to a tiny seed trying to sprout. And if a seed needs light to germinate, it has to be surface sewn. Not covering a seed seems counterintuitive the first few times you do it, but for certain seeds the immediate light and warmth are musts for germination. Just pack the surface soil and gently press the seed into it, enough to give it good contact but without covering it.

Some seeds benefit from soaking before planting, but not all.
The water. Just like mature plants in the garden, your seeds live or die by water. A seed will rot in too much water and never sprout. Under water seedlings, they stress or dry out and die. Overwater them, they drown or develop fungus and die. Even moisture must be maintained throughout the process of starting seeds. The simplest way to do so before seeds emerge is to wrap their pots in plastic to seal in moisture and remove the plastic when they sprout. It will keep moisture even until the seedlings emerge. If you are using paper pots or otherwise logistically cannot wrap your plants, watering from the bottom prevents most overwatering issues by allowing the plant to soak up water through their pots. Simply set the pots in a plastic tray and fill the try to about ¼” of water. After about half an hour or when you notice surface moisture is beginning to appear, pour out any excess water from the tray. (Fertilizer is best applied in the same way diluted in the water.) A mister spray bottle to water from above will prevent both overwatering and soil surface disturbance. How often you water your seedlings will depend on the dryness of the indoor air.
Here’s to the best of luck with your gardening this year.

Great article on starting seeds, very informative and the link to the potting up process is very useful.
LikeLiked by 1 person
Thank you very much. 🙂
LikeLike