Latest Posts

Baby Bok Choy Udon Bowl with Poached Egg

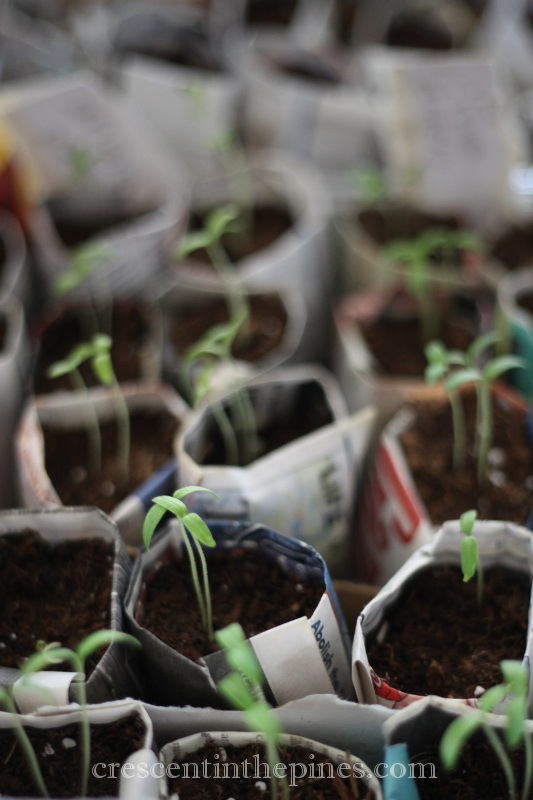
April has arrived and per the adage she brings with her showers. A week’s worth at least according to the forecast and in taking full advantage this week is all about seeds that can be broadcast at our house. In areas tedious to mow and bordering to the woods, I have broadcast all my favorite wildflowers, a few dozen types from indian blanket and lupines to black eyed susan and coneflower, almost all native and all capable of reseeding themselves. Low maintenance is nice. But with still more old overgrowth to clear, the busiest gardening month arrived, and the house’s interior to finish, unfortunately the fencing projects and our chicken coop have to be put off, for now.

au2post     au11post

au6post

au4post     au5post

au0post

au10post

au23post    au18post

au20post

au21post     au22post

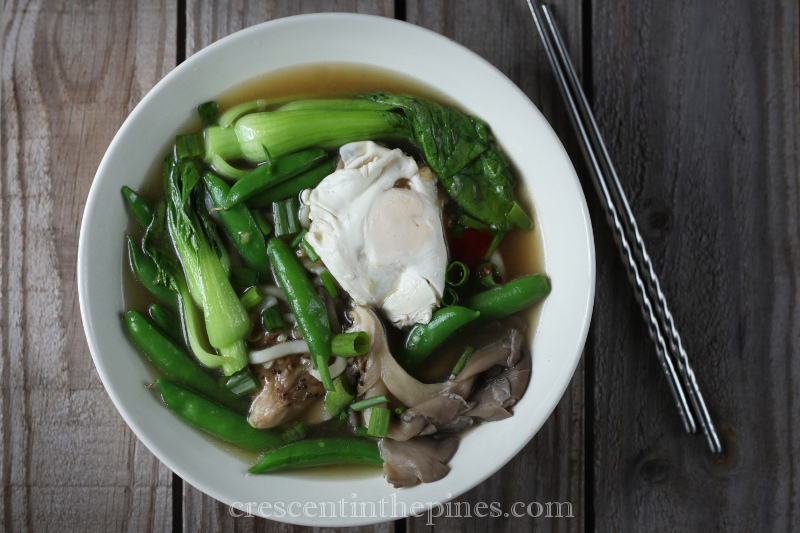
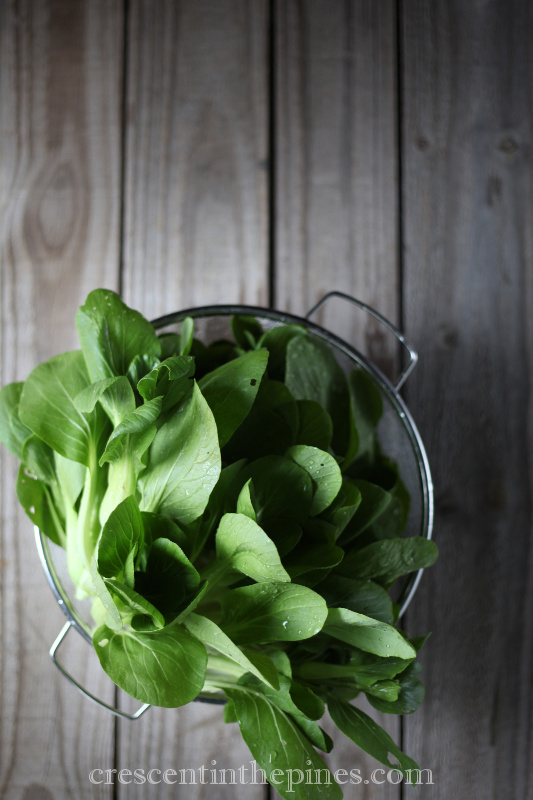
Most days are gray and cloudy lately, but just enough humidity hangs and just enough warm sun comes through to spur on the baby bok choy. It probably doesn’t help having planted a bit too much to keep up with, but I adore fresh bok choy. The cool rain inspired soup cravings, so I opted to make a sort of play on some favorite Asian soups, mixing and melting flavors from various recipes in order to make good use not only of all this bok choy but also snap peas and some gorgeous mushrooms I found at the market. Udon noodles paired with a single egg per bowl gives this soup a hearty, filling quality that cannot be beat, although if you would prefer a ligher soup, the noodles can easily be replaced and the egg can be swapped for shrimp or tofu.

bc1post     bc2post

BABY BOK CHOY UDON BOWL WITH POACHED EGG

1 tbsp canola oil
4 cups vegetable stock
2 whole star anise
1 stick whole cinnamon
2 inch piece fresh ginger, minced
4 garlic cloves, minced
2 large eggs
7oz udon noodles
4 baby bok choy
2 cups sugar snap peas
6oz mushrooms of your choice
4 green onions, thinly sliced
Soy sauce
Chili sauce and fresh lime, if desired

In a large Dutch oven or other soup pot, warm the oil over med-high heat. Add the cinnamon stick and star anise and cook stirring constantly about 3 minutes or until the cinnamon stick begins to uncurl and the spice becomes fragrant. Add the ginger and garlic and cook, stirring constantly, about 30 seconds. Add the stock and bring to a boil. Lower the heat, cover and simmer for 15 minutes to infuse the broth with the bbc4spices. When finished, remove the cinnamon stick and star anise. Add mushrooms and light parts of the green onions to the infused broth and simmer for about 10 minutes. Add bok choy and noodles and stir to submerge them. Crack the eggs into separate bowls or cups and slip them into the simmering broth, one at a time. Simmer for 2 minutes. Add snap peas, careful not to break the egg yolks, and simmer for another 1 minute, so the peas are just cooked but still bright green and crisp. Off the heat, gently stir in the soy sauce (to taste) and remaining green onions. Divide the soup between two bowls, garnish with lime and/or chili sauce if desired and eat immediately. Makes two servings.

Notes:

If you want your egg yolks completely set, add the eggs before the bok choy and noodles and let them cook for a minute before adding the later two or increase the cook time of all three by one minute. Do not increase the cook time of the snow peas or they will become soggy.

For this batch I used shiitake and oyster mushrooms, but many kinds are excellent.

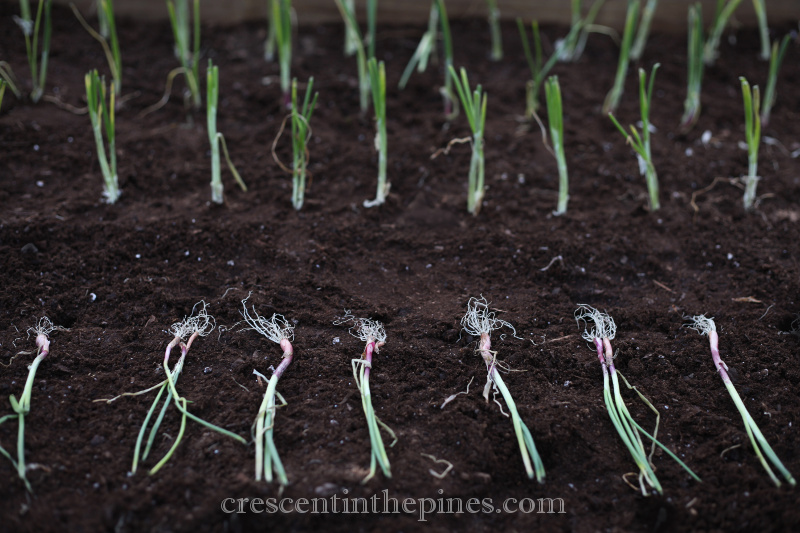
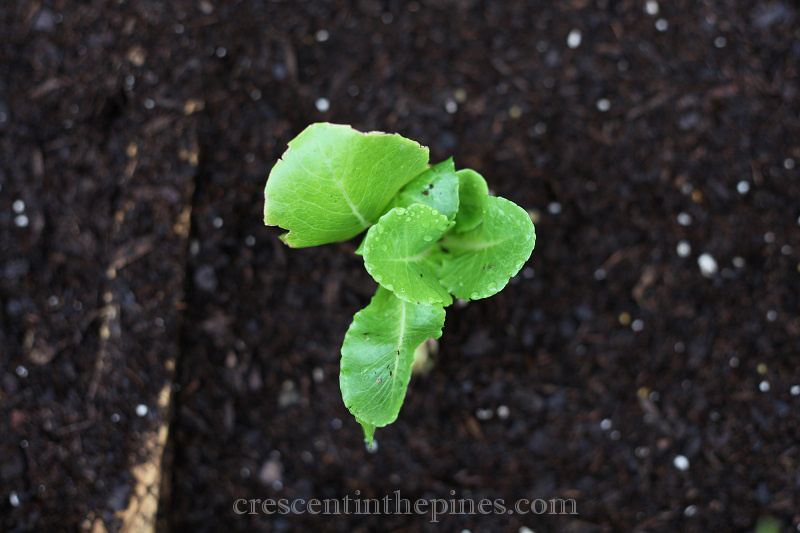
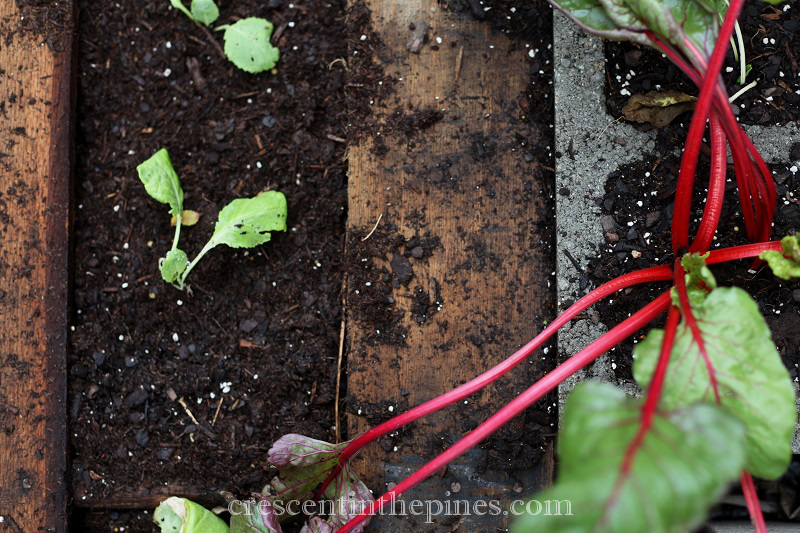
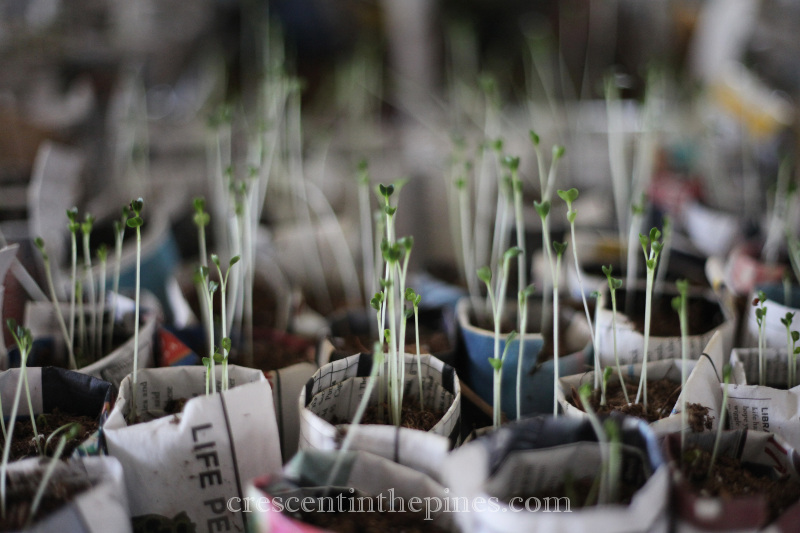
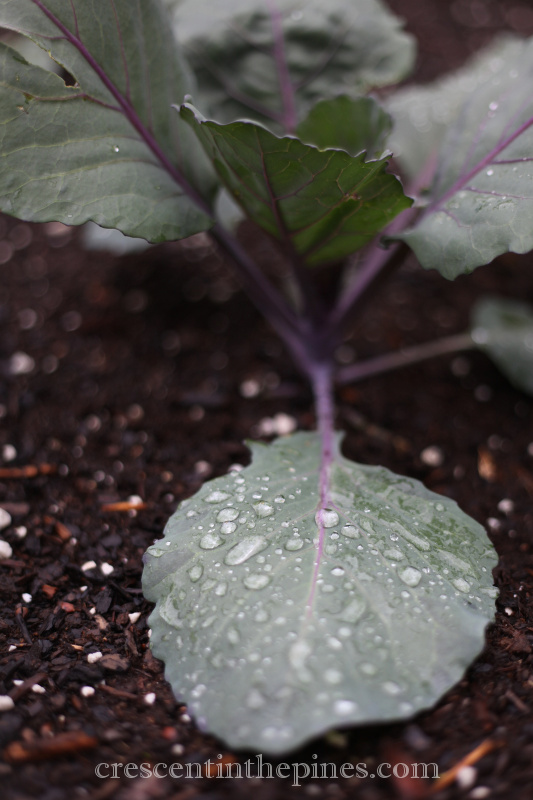
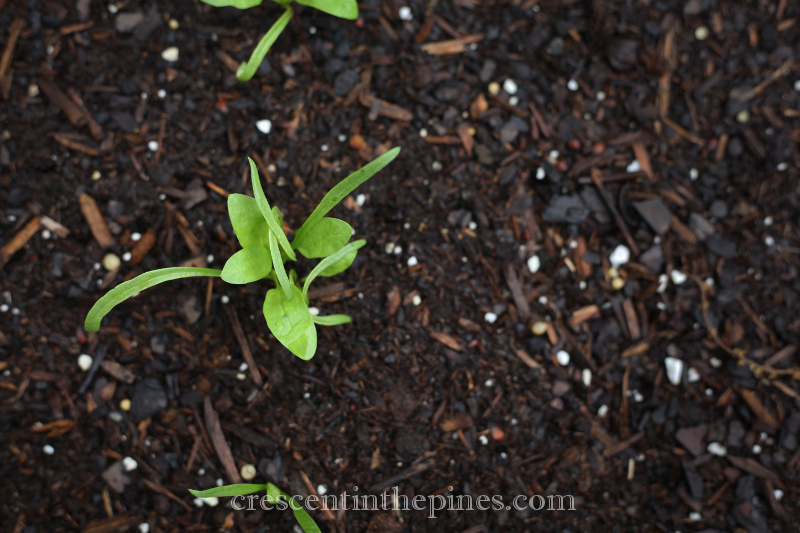
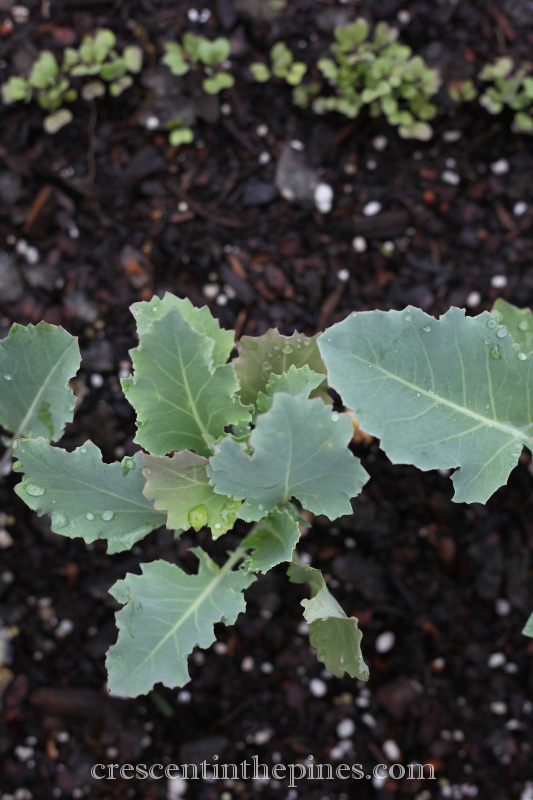
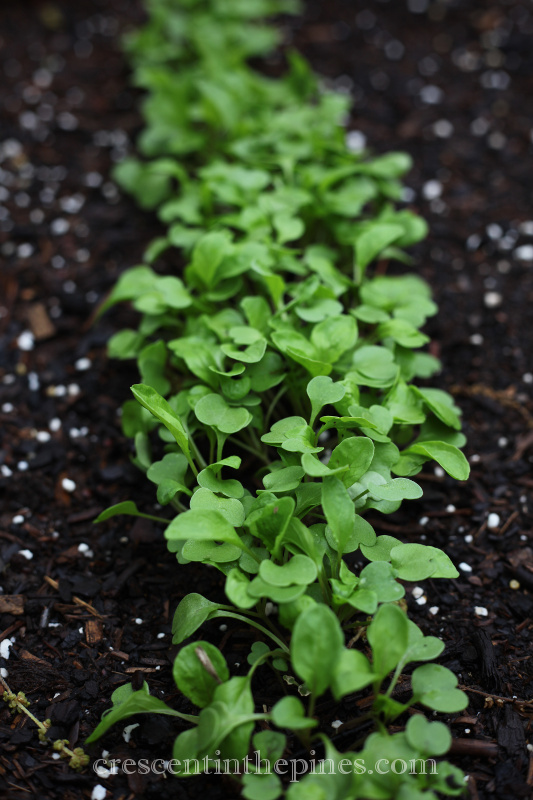
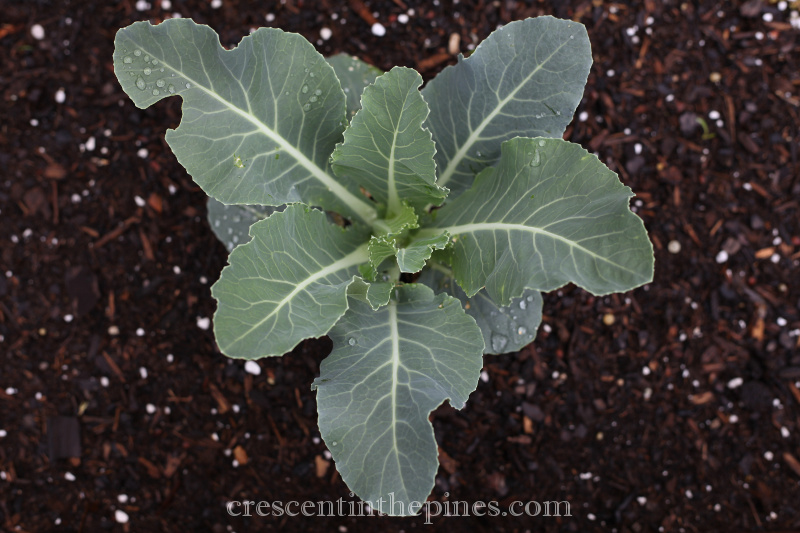
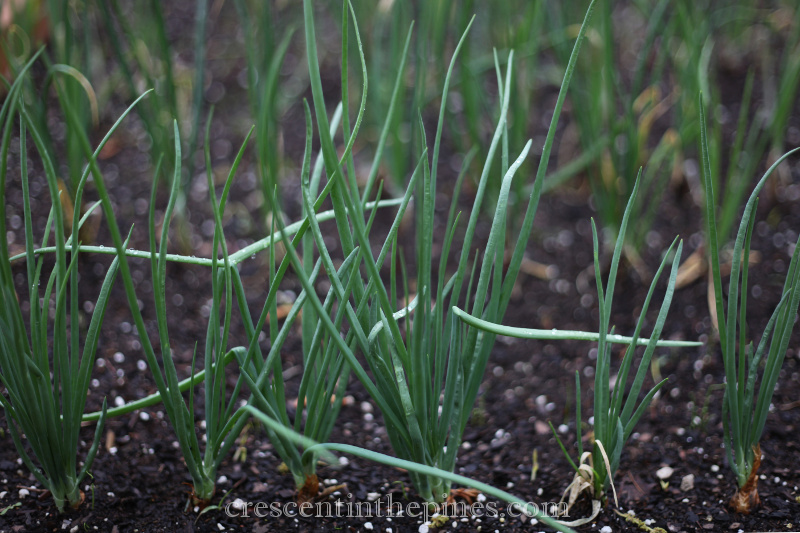
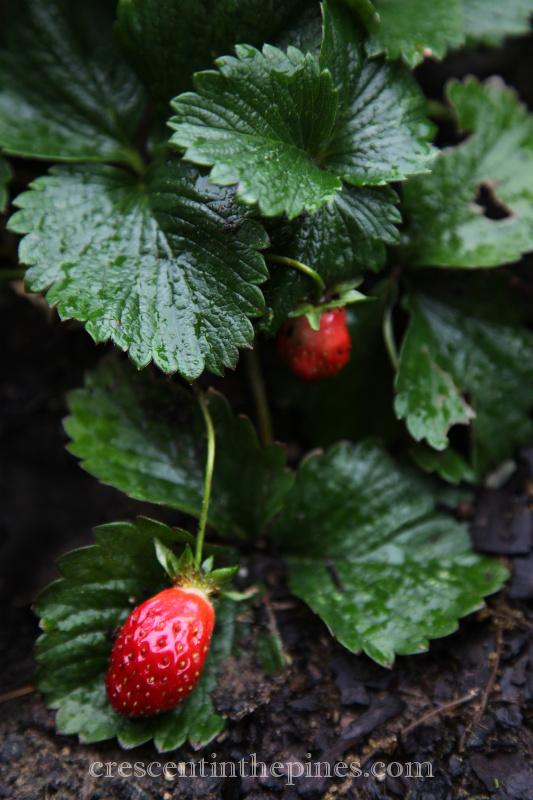
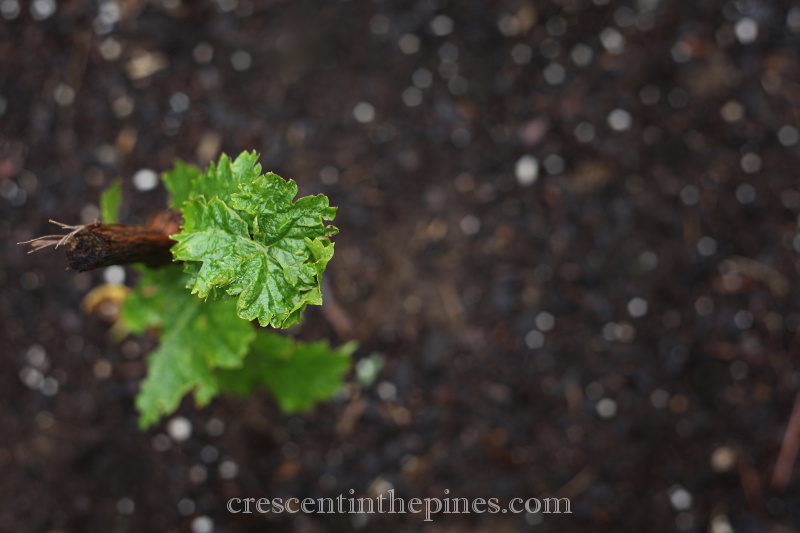
Garden photo guide: 1. Very happy potatoes 2. Cabbage 3. Spinach 4. First & second (soon to be thinned) kohlrabi plantings 5. Old spinach seed that in theory wouldn’t produce much. 6. Cauliflower 7. The onion bed from previous post 8. E’s strawberries 9. Previously container grown blueberries 10. New grape plants, hopefully not drown by spring’s end 11. Apples in the orchard 12. Baby peaches coming on.

On sets

There are those to whom the cutting scent of a freshly sliced onion is acrid and unpleasant, but to me it’s a sharply clean delicious smell, pungently sweet, a salvatory crier of summer when the first faint scent of wild onion being cut down by the mower drifts in through the open window and perhaps no one misses a few slices taken of the sweet Vidalia being cut for sandwiches. Yes, I am the kind who eats onion raw and unashamedly so. Thus it is that while I enjoy growing onions from seed, I find amending the garden with onion sets for an earlier crop of onions and a still earlier crop of green onions to be the best option. For those of you of like mind, or those who simply want to skip growing your onion from seed, here is a quick and simple guide to setting up an onion bed and planting sets or plants:

os1postPlants or sets? Completely your choice. Plants have the green tops and sets don’t so be sure you put the root end down if you choose sets.

You’ll want a sunny, well draining bed. Onions do not compete well with weeds and they will go soggy and rot in poor draining soil. You must stay on top of weeding to prevent stunted growth.

Whether or not to rotate your bed annually is a matter of some debate, dependent mostly on your willingness to go above and beyond in killing any potential bacteria after harvest. However, if you are starting a new bed, it is unwise to plant anywhere onions were grown in the previous three years as you do not know what may be in the soil.

Onions prefer a pH around 6.5 to 7, however the common varieties are very tolerant if you don’t know how to test your soil. Amending your soil generously os3post
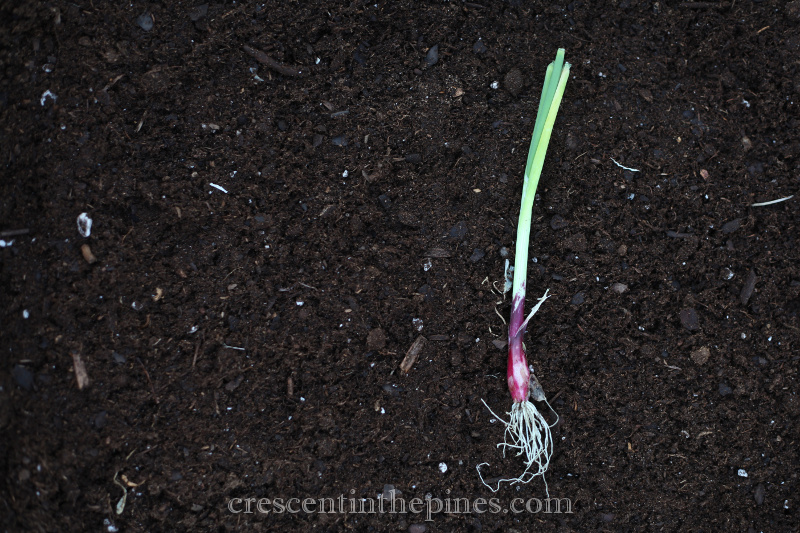
with composted manure will make the nitrogen loving plants happy. After amending your soil, I suggest giving it a week or so to settle, or if you are planting immediately pack the soil firmly down as onions prefer firm soil.

Onions are very frost tolerant and do best when planted while the days are still cool. For the ideal planting time for your region, the Farmer’s Almanac provides an excellent guide, or feel free to message me for timing tips.

Before planting, be sure to water the bed not to the point of sogginess but to an even light moistness. Onions do better planted in lightly damp soil than in dry.

Not space takers, depending on the size of the variety they can be planted in rows about 9”-12” apart and about 6” apart from each other in their rows. Planting them about 3” apart initially allows you to pull green onions throughout the spring until the final harvest plants are the preferred 4-6” apart.

os2post

* I like to lay my plants out where they will be planted after sorting out the unusable plants. It speeds up the planting process and allows you to get a visual of the final layout before planting begins.

To plant, shove your finger into the dirt about an inch and place the onion in then gently firm the dirt around it, just enough to fill the hole and stabilize the onion. This part is remarkably fun for your little garden helpers. Water lightly after planting and continue to do so daily for a few days until the sets start to show green tops or the plants green tops grow noticeably. After that, taper off watering to every other day depending on heat and rainfall in your area. Onions will not tolerate constant dampness.

Waste not

Not one for wastefulness, as we’ve worked at cleaning up the overgrowth and saplings choking each other for space in the long unkempt wooded section of our property, I’ve tried to find use for every tree of any size that has to come down aside from just firewood. (All that pine is no account for firewood anyway.) Those paired with the two stacks of forgotten building materials left by the former owners have become the primary materials in building the framework of my garden. From deer fencing corner posts to bed frames, they have played a role in every job involved in building the garden spot saving both money and waste.

pal1post

pal3post    pal2post    pal4post

pal5post

That in mind, a year and some change ago I shared an entry on the other blog about using otherwise unneeded palettes and cinderblocks for building a garden bed and so well does the idea work that I decided to share it again.

garden3

garden2These palette bed frames are too shallow for larger plants, but for leaf lettuces, herbs, and other surface crops they are ideal. They even work well for smaller hot pepper plants after a year of settling in place if you plan to keep them. They can otherwise be removed, seed spread, and no one need ever know they were there, which is great for rental tenants. Even more so, the cinder block as a raised bed edge has become a favorite of mine for giving herbs with encroaching roots space without losing valuable bed space for the vegetables around them. The idea is simple enough: lay out newspaper as a boundary then top it with palettes using the cinder blocks as a barrier on the two open sides of the palettes. I do recommend filling them with dirt a week or two in advance of planting and watering a few times heavily if you have no rainfall. This will allow the dirt to settle in place giving you an idea how much you may need to add before planting. Happy spring everyone!

pal7post


Seedlings

It feels innately warm, the virescence of spring, the electric glow of green budding against an often grey or pallid blue sky. Inside, for over a month, tiny cups of earth have been scenting the house, warm and ancient and fertile. And every day for the last few weeks, a new raised disturbance in the surface of the soil, a loop all serpentine and pale milky whitish green appears, one leaf, then two, unfolding and stretching and rolling out in a slow vaguely feline style.


sp4post

And every time I pass the counter where they’ve taken shelter from the passing snows, I smile. The heart shaped pairs of purple green leaves on the baby cabbage, pointy long stems of onions sp3postand leeks unfurling like tiny whips, the heart like curls of eggplant and peppers first leaves, the showy bold overachievers that are rapidly growing young tomatoes.

Every year come beginning of February, newspaper page after newspaper page is rolled into tiny cups and seeds are begun, tiny wishes for spring, tiny hopes for tomorrow. And hour after hour is poured into their care and nursing, every one that fails mourned, every one that grows stronger with each passing hour a source of excitement. And by this point as we close in on the equinox, being in a warmer region I am closing in on the last of those seeds started indoors rather than directly sewn and my early spring crop is in the greenhouse, taller every day and basking in the warmth and light of longer days. But for those in cooler climes soon to start their seeds, those hurrying to start a small mid or late season garden, those exhausted with the cost of seed starting equipment and looking for a new way, or even those who’ve never tried seeds started on their own before and anxious to do so, I offer this, my spring gift to you, a guide, a how to of home spun seed pot making.

sp5post

While I enjoy bringing up some of my seedlings in makeshift seed trays, for others which will require potting up or other transplant, I needed a new kind of seed pot as store bought are costly. Thus, a few years ago I started making this style of seed pot which is not only inexpensive save for effort involved but also reduce transplant shock as they can be planted with the young plant whether potting up or directly into the garden and will decompose under the plant. From about the last week of February through the spring, I can be found sitting on the couch rolling tiny seed pot after seed pot when Josh and I watch movies. Yes, it’s that simple.

To start, you’ll need newspaper and seed starting soil, either your own composted or store bought. In a future post, I’ll be more in depth about soil prep for seedlings, but for today I am concentrating on these containers. Half a standard newspaper page is what you’ll need per cup, although your local free paper is often exactly the size you need. (Hint from someone who once worked at a weekly: hit them up on Wednesday afternoons when they’ve changed out the latest editions. Old copies usually go to recycle anyway so they or a business carrying them won’t mind parting with a stack of their leftovers from the previous week.) Whether using a page of your local weekly or a half newspaper page, fold it in half lengthwise for added strength like so:

sp6post
The size you roll at this point is up to you and the size you want will determine what you roll you newspaper around as a form. Bottles, small glasses, a small clay pot, or any number of things will work. You can do a slightly larger roll for a makeshift 2″ pot, but I’ve had no luck with even the finest examples of my seedling pot origami holding up under enough waterings to make rolling pots that size worthwhile. Typically I find a very technical gardening tool, namely any one of my collection of hot sauces’ bottles, to be the perfect size for a pot large enough for seedlings to establish and grow well into their true leaves before needing potted up or garden planted. Starting at either end of your folded paper, at a slight angle lay your tool of choice (we’re saying hot sauce bottle from here in) so that at least a third of your folded paper is exposed underneath. The amount you leave exposed will be determined by how deep you want your seedling pot. Roll the paper somewhat tightly around the hot sauce bottle keeping the angle slight and when completely wrapped, fold the end as though you were packaging a gift, over from once side then the opposite, staring just passed the opening, like so:

sp7post

A better view of those amazing folds:

sp8post

Typically I make three folds for strength, but if you are leaving less end exposed you will most likely only have room for two. Once your folds are made, start rolling inward from the point of the folds toward center:

sp9post

As you remove your new seed pot from the hot sauce bottle, shove inward on the folded section and gently squeeze the end, creating crimps and less likelihood of the whole shebang coming undone:

sp11post

This is where the slight angle you rolled your new pot at comes into play. You should, at the top of the pot, have a section of paper sticking slightly up. Once folded, that piece helps strengthen the top of your new seed pot:

sp12post

Fill your new pot with fresh seed dirt and plant your baby seeds at a depth appropriate to their type. Lined neatly in your seed tray, or paint tray liners as I prefer for cost effectiveness, your little seed pots will produce readily until you are ready to transplant, pot and all.

sp14post

Chicken & Noodles


cn0postThere are few things in this world more comforting than being home with nowhere to go while snow pours down outside. I’m not certain how long I stood at the window, tracing the paths of individuals flakes with my eyes, admiring their graceful fall. I marveled at the rapidity with which the yard turned from swathes of the first spring green to a soft blanket of stark white while the cardinals whirled, three red males and a harem of a flock, in their whirling dervish patterns in and out of the tree line.

I had been outside when the snow started, first occasional then constant fat fluffy flakes like feathers from some unseen molting bird.  The whipping wind rattled through the trees, an undecided gale from the north, was it winter wind or a frozen harbinger of spring? And the stately pines tossed to and fro, whispering age old stories in an unintelligible hypnotic language. Unfortunately, that calm was cut short at Winston’s behest, who rejects any form of falling moisture without exception and wanted no more being outside.  However, inspired by the rapid switch in the weather and a potential last chance to get in a hearty cold weather meal, there was a change in the week’s menu.

cn000post

Hands deftly cutting apart the fryer as I watched the snow thicken and slack again and again in torrents against the pasture and wood line landscape from the kitchen window. And as the chicken cooked, and its tender bits and a bay leaf boiled down to a fine fresh stock, the house was filled with a smell I love, the indescribable smell of home and comfort. How a single bird and a dried out leaf manages it, I’ll never know, but that magical breath of bay and the salty near buttery thick smell of chicken rendering into perfect stock worthy of eating plain has to be one of the most comforting smells ever, the sort of kitchen smell that makes you certain everything is right as rain. Or snow. Whichever. And that smell still hangs in the air today, fainter now, but there, enough that a bowl of leftover chicken and noodles is called for.

cpw3

Like a snowy day watched from inside with nowhere to be, chicken and noodles is one of the ultimate comforts, something granny makes frequently in the winter, something served without frills and with a generous side of biscuits for sopping, of course. A simple dish featuring only the most basic of ingredients, it is easy to put together, albeit slow cooking as with all things fine, and worth every minute of the cook time.


cnsom1CHICKEN & NOODLES

1 whole fryer chicken, cut up
1 bay leaf
3 carrots, sliced
2 parsnips, sliced
3 stalks celery, sliced
½ one large onion, sliced
1 ½ tsp garlic
1 tsp white pepper
½ tsp ground thyme
2 tbsp fresh chopped parsley
3 tbsp all-purpose flour
1/3 cup milk
3 cups homemade egg noodles (or a 16oz package frozen homestyle egg noodles)
Sea salt and fresh cracked pepper to taste

Place chicken in a large stock pot or other soup pot and pour in enough water to cover. Bring to a boil and then reduce heat to low; simmer for about 30 minutes. Remove chicken pieces from broth and remove as much meat as possible from the bone using two forks, lightly shredding as you do. Set meat aside. Return bones to stock, add bay leaf, and simmer low, covered, for 45 minutes. Strain stock into a large bowl through a mesh strainer. This should catch any small pieces of fat and bone, but double check your stock carefully for any small bone fragments and remove any you might find. Pour the stock back into the pot and add carrots and the next six ingredients. Stir gently and simmer for 10 minutes. Bring stock back to a boil and add egg noodles and chicken. Cook over medium heat for 10 minutes if using homemade noodles or 15 if using frozen. Whisk together flour and milk in a small bowl, making sure all flour is absorbed. Remove pot from heat and slowly pour in the milk and flour mixture, stirring as you pour. Place the pot back on low heat, add parsley, and allow to simmer 3-5 minutes, or until thickened to your desired consistency. Add additional salt and pepper to taste.

cnpost5Notes:

Please don’t waste your money on precut fryers. If you’ve never cut up your own, it’s very simple. Here is a how to link.

Not everyone likes to make their noodles from scratch and frozen egg noodles are a good quick fix. Fresh are always better though and here is a link to a great simple way to start making your own. 

After the final simmer, I turn off the heat under mine and let them sit for about 10-15 minutes to thicken before serving. But I prefer a very thick consistency, so if you would rather a thinner, more soup-like consistency, skip the additional sit time.

Home.

“It’s deep in the race for a man to want his own roof and walls and fireplace.” – George Bailey Sr .

Once upon a time, not quite a century ago, there was a cabin built in central Oklahoma on a small farm. The house was happy and well-loved for many decades, until the capital city outgrow its borders and all the neighboring communities and towns swelled with the weight of growth. One day, the farm land around the little house began to change as it was split and crushed under imminent domain for the expansion of the interstate. Soon big companies with big money came and began buying the remaining land around the little house and its little farm. And then the little house’s last family member, its last holdout, passed away and the sad little house was left alone with the big businesses and their big money.

But another family had seen the little house and loved it very much so they bought a piece of land much farther away from the big businesses and they moved the little house to its new land and even added a new section to the little house so that it could be a big house for a big family. Almost two decades later that family chose another young family who love history, who love the house, and who love the land it was moved to and sold it to them. And now, sixteen years after the little house was slated for demolishing, it is in the hands of third loving family and stronger than ever, everyday adding to its own unique little story.

Not quite two years ago, I started a blog with limited focus. I sort of knew what I wanted to do so by limited, I mean anything I photograph was the limit and by focus I mean basically none. After less than a year it became abundantly clear that too many areas of interest don’t work well in this format. Thus, increasingly frustrated with how to mesh everything together, I finally stopped trying and converted the other blog to travel and photography only, a repository of adventures, and the idea for a sister blog of home and hearth, this blog, was born in the aftermath. As we settle into our new home, it seems like the ideal time to launch this blog, a place of shelter and comfort to pair with the travel and adventures of the open road.

Here you will find the welcome mat always out at the little cabin from central Oklahoma, ideas always being shared for the home and garden with preservation and tradition sewn throughout as we write the everyday letter by letter of our story, always remembering where we come from and the past that made us.